The Vendor Data Manager allows you to create a list of Vendors and to set up Vendor Rates for applying time to work orders and set up a Vendor Directory that allows you to access Vendor Contact Information in AIMS.
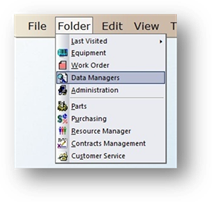
1. Click on the toolbar Data Managers button or use the menu Folder > Data Managers. The Control opens to the Account Tab.
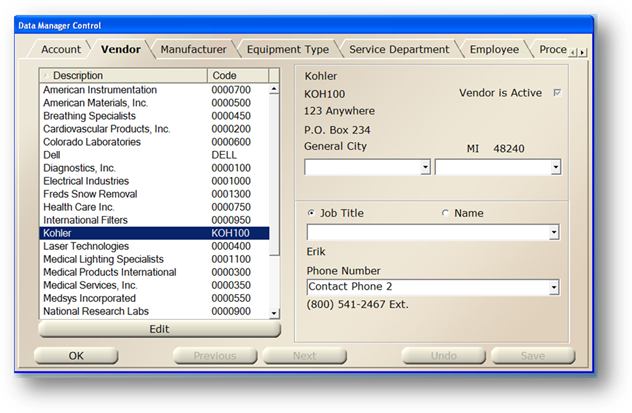
2. Click the Vendor Tab.
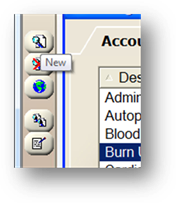
3. Click New or use the file menu Tools > Edit > Add Record.
4. The Control opens to the General Information tab.
General Information
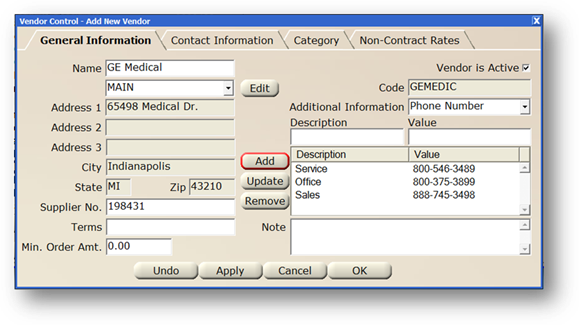
NOTE: Not all entries are required. AIMS will prompt you indicating which fields are required. Enter all applicable.
5. New entries default to an Active Status. Active vendors display as an option in drop down lists; inactive do not.
6. Enter the Vendor Name.
7. Accept the Code default or change it to be consistent with ECRI or your organization’s conventions.
8. Enter the Supplier Number.
9. Enter the Terms. Supplier terms are provided by the part/equipment supplier.
10. Enter the Minimum Order Amount.
11. Click Apply to save the Vendor. You will be prompted to also add it as a Manufacturer. Click Yes to also add the vendor to the manufacturer list, or no to just save it as a vendor.
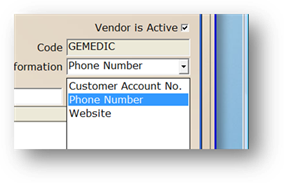
Additional Information
After saving the vendor, you can add additional information such as multiple phone numbers, account numbers or website addresses.
1. Choose the type of additional information from the drop down list.
2. Enter a Description (Example: “Office Phone Number”)
3. Enter the Value corresponding to the entry’s description (Example: The vendor’s office phone number; or “800-546-3489” for instance)
4. Click Add to add a Vendor. AIMS asks to copy the Vendor information as a Manufacturer. Click Yes to also add to manufacturers, click No to just save to vendors.

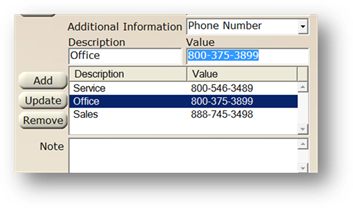
5. Click Add to add the additional information to the list below.
Address information
After saving vendor information, you can enter one or more addresses.
1. Click Edit to enter the Vendor Address.
NOTE: Multiple Addresses can be entered.
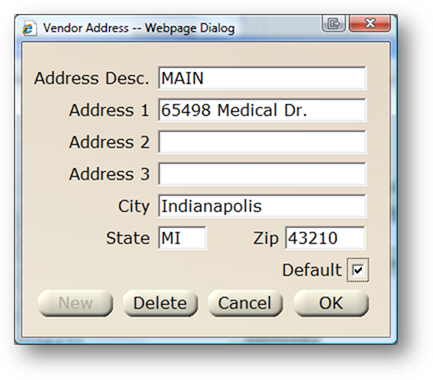
a. Enter the Address Description.
b. Enter the Postal Address and Room, Suite or Floor.
c. Enter the City/State/Zip Code information.
d. Check the Default check box if this address is the primary address for the vendor. This will be the address that defaults in the Directory and in the Purchasing control (optional component) when a supplier is chosen.
e. Click OK to add the address.