Add Service Department Data Manager Codes to use when assigning work orders. Set up printing defaults to determine where work orders will print based on the Service Department.
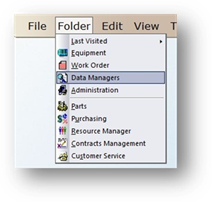
1. Click on the toolbar Data Managers or use the menu Folder > Data Managers. The Control opens to the Account Tab.
2. Click on the Service Department Tab.
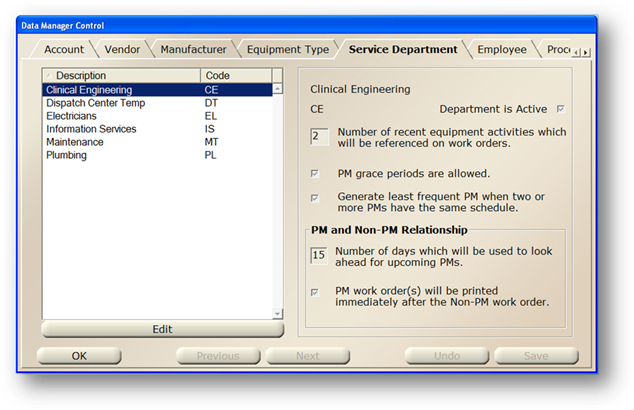
3. Click New in the toolbar or use the menu Edit, Add Record. The control opens to the General Information Tab.
General Information
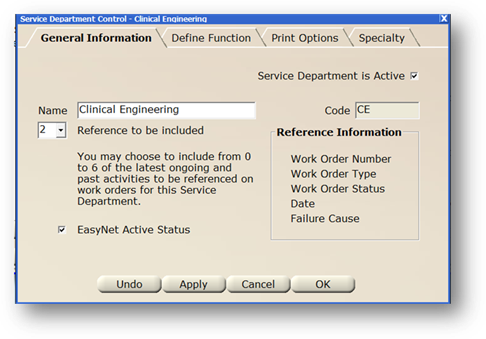
1. The Service Department is Active checkbox defaults to active status. Active displays as an option in drop down lists; inactive does not.
2. Enter the Department Name.
3. Accept the Code default or change it to something consistent with your organization’s preferences.
4. Number of References Included
5. Up to six recent activities can be included for reference on work orders for this Service Department. This will list the work order numbers on printed work orders for reference by technicians.
6. Select EasyNet Active Status to include the Service Department in the EasyNet (optional component) request valid entry list.