Technicians can submit purchase requests for parts or labor. From purchase requests, purchase orders can be created and submitted to a vendor for parts or labor for a work order. You have the option of requiring approval for either purchase requests or purchase orders. Finally, you can receive and invoice your purchase orders and even automatically update purchase orders and work order information from invoices.
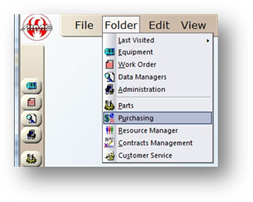
1. Open the Purchasing Control by clicking Purchasing or click the Folder > Purchasing.
Request Tab
2. Click the New Purchase Request in the toolbar on the left side of the screen.


Request Information
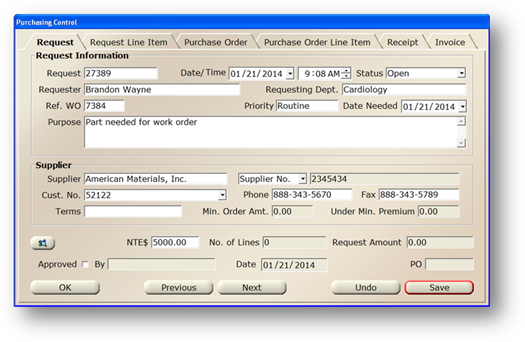
3. Enter a new purchase Request number in the Request field.
4. Accept the Date/Time default (current date and time) or enter the date/time of the request.
5. The Status will default to Open. The status can be changed to reflect the actual state of request including:
⋅ Open- Open is the default and the original state of a newly created request. This indicates that it is a New Request and does not have a Purchase Order created for it.
⋅ Approved- A status of Approved indicates that the request has been approved, but a Purchase Order has not yet been created for it.
⋅ PO Created- A status of PO Created indicates that a Purchase Order has been created for the request. The request will become closed and you will no longer be able to edit it.
⋅ Approval Denied- A status of Approval Denied indicates that the request was denied. A Purchase Order will not be created for requests with this status. The request will become closed, and you will no longer to able to edit it. A manager may change the status from Approval Denied to Open.
⋅ Void- A status of Void represents requests that cannot be made into Purchase Orders. The request will be become closed and you will no longer be able to edit it. You will have to change the status back to open in order to edit it.
⋅ On Hold/ Pending- A status of On Hold/ Pending can be used to indicate to the technician that the request was viewed and further action is needed. A Purchase Order cannot be created from this status until the status has been changed back to Open or Approved.
⋅ Warehouse Stock- A status of Warehouse Stock indicates that the Parts requested were already in Warehouse Stock and no order needs to be placed. The request will become Closed without a Purchase Order and you will no longer be able to edit it.
6. Select the name of the Requester, or person requesting the Purchase Order.
7. Select the Requesting Department
8. Enter a Work Order Reference Number – if there is one – that is associated with the purchase request. The drop down list next to the WO field is to select which facility the work order is in (for systems with global purchase requests).
9. Accept the Priority default or select from the valid entry list. You must setup purchase order priorities before you can use this field.
⋅ Priority can be configured to automatically set the Date Needed.
10. Accept the Date Needed default or enter a new one.
11. Enter a description of the Purpose for the Purchase Request.
Supplier
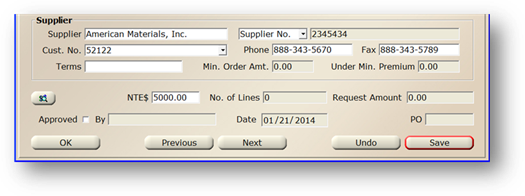
12. Select a Supplier for the line item(s) on the Purchase Request.
13. Select the Supplier No./Address Desc. from the valid entry list.
14. Enter the Supplier Information Fields (Customer Number, Phone, Fax, Terms, Min. Order Amt., and Under Min. Premium). They may default based on the information configured for that supplier.
15. The View Purchase Request button can be clicked to view a printable version of the purchase request.

16. Enter a “not to exceed” dollar amount in the NTE $ to indicate the amount that the request should not exceed. This can be useful for requiring manager approval for requests that exceed a certain amount.
17. Check Approved if the Purchase Order has been approved and select the approving employee from the valid entry list next to the checkbox.
18. Click Save to save the request.
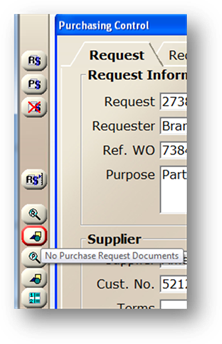
19. To attach a document to the Purchase Request, click the Purchase Request Documents button in the toolbar.