Before utilizing the Purchasing Control, it is recommended that you set up| default values and options from the Administration control first. That way, you will have values for Shipping Methods, Invoice Type and Pricing Method, as well as any user-defined fields you choose to create.
NOTE: Most systems will have Purchase Orders created after Purchase Requests have been saved. In this case, you will not have to create a New Purchase Order manually. Please see Creating a Purchase Request for more information.
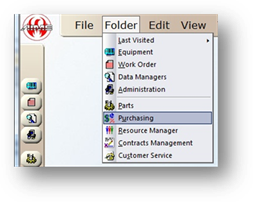
1. Open the Purchasing Control by clicking on the Purchasing in the toolbar or use the menu Tools > Purchasing.
PO Information
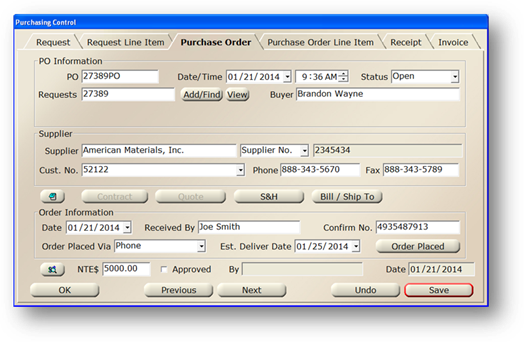
2. Enter the Purchase Order Number. This field may default if sequential purchase orders are configured in the Administration control.
3. Accept the Date/Time default of the current system date and time or enter the date and time for the purchase request.
4. Accept the default Status of Open or choose a Purchase Order Status.
5. The Requests valid entry list displays Purchase Requests already applied to this Purchase Order.
6. Click Add/Find to add a Purchase Request to the Purchase Order.
NOTE: Purchase orders can also be created by clicking Create PO on the Request Line Item Tab. See the purchase requests line item how-to for more information.
7. Select the Buyer from the valid entry list.
Supplier
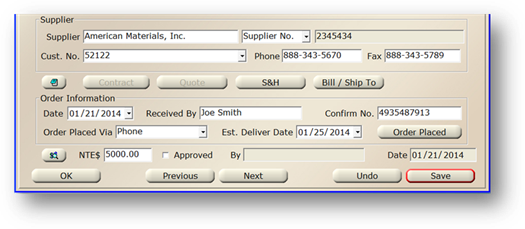
8. Select a Part Supplier from the valid entry list.
NOTE: For information on setting up suppliers, as well as the information associated with them, see the Data managers Vendor how-to.
9. Select the Supplier No./Address Desc. from the valid entry list.
10. Select the Supplier Customer Number for your organization from the valid entry list.
11. Select a Phone Number from the valid entry list.
NOTE: Use the description column to differentiate between the different phone/fax numbers.
12. Select a Fax Number from the valid entry list.
13. Click Note to add notes to this Purchase Order.
14. Click the S&H button to configure Shipping and Handling Information.
Order Information
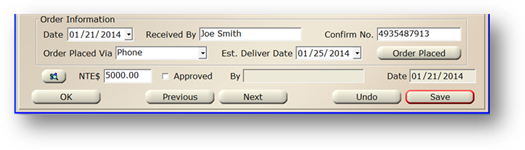
15. Accept the Current System Date or enter date purchase order was placed.
16. Select the person who received the purchase order for the vendor from the Received by Field.
17. Enter the vendor supplied Confirmation Number for the purchase order.
18. Select the method used for placing the order from the Order Placed Via drop down list.
19. Enter the Estimated Delivery Date as stated by the vendor.
20. Click Order Placed to enter the PO into AIMS as being placed. The PO status will automatically change to Ordered, indicating that the order has been placed.
21. The View Purchase Order button can be clicked to view a printable version of the purchase order.
22. Enter the NTE $ (not to exceed) value. AIMS can be configured to require approval if this value is exceeded.
23. Click the Approved check box to enter Purchase Order approval information. You can configure AIMS to require approval of purchase orders.
⋅ Select the Person who approved the Purchase Order from the valid entry list.
⋅ Accept the Current System Date or enter the date of Purchase Order approval.
24. Click Save to save the Purchase Order.
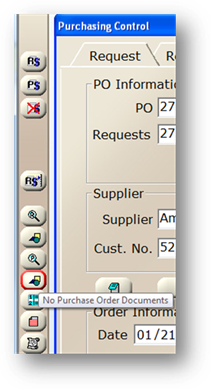
•To attach a document to the Purchase Order, click the Purchase Order Documents button in the toolbar.