 Or….
Or…. 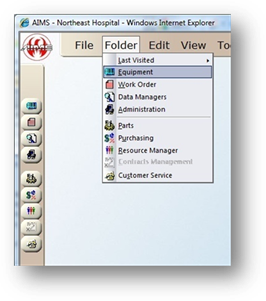
Enter equipment into AIMS to track information, work orders, and history for the devices in your facility.
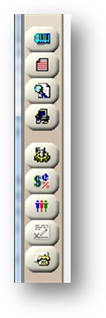
1. Open the Equipment Control by clicking on the Equipment button on the main screen, or by selecting Folder > Equipment.
 Or….
Or…. 
Information
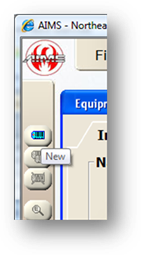
2. Click New on the toolbar or use the Edit > Add Record. The fields will clear, allowing you to enter information for the new equipment record.

Name Plate

3. Enter the Tag Number, or unique identifier for the equipment.
4. Enter an Asset Number, or secondary identifier (if applicable).
5. Select a Manufacturer from the valid entry list.
6. Select a Model from the valid entry list.
⋅ Once a Model Number is entered, it is possible that the Model Name, Original Manufacturer, Description, and Type may default at this time.
7. Enter the Model Name for the piece of equipment.
8. Select an Original Manufacturer from the valid entry list.
9. Enter the Serial Number for the equipment.
10. Enter the Description of the equipment.
11. Select the Equipment Type from the valid entry list.
Administration
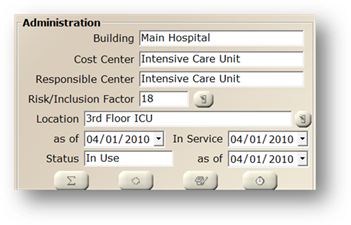
12. Select a Building from the valid entry list or enter the Building where the equipment is located.
13. Select a Cost Center from the valid entry list.
14. Accept the Responsible Center default which is based on the Cost Center selected from the list, or select a different department responsible for daily use or service.
15. Accept the Risk/Inclusion Factor default or enter risk factor.
⋅ Risk factor can default from the model or equipment type entered on the equipment.
16. Enter the equipment Location. If you have configured a location hierarchy, click the Switch button to assign the location.
⋅ Location As of Date indicates the date of the last time the location was changed.
17. Accept the In Service Date default of today’s date, or enter the date the equipment was put into service.
18. Accept the Equipment Status default or select a status from the list.
⋅ Equipment Status As of Date will default to today. Accept the default or enter the date the status was changed.
Purchase Information
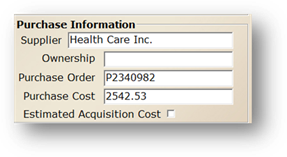
19. Select a Supplier from the valid entry list, or enter the supplier for the equipment.
20. Select Ownership from the valid entry list.
21. Enter the Purchase Order Number used to purchase the equipment.
22. Enter the Purchase Cost of the equipment.
⋅ Select Estimated Acquisition Cost if the value entered is an estimate.
Service Information
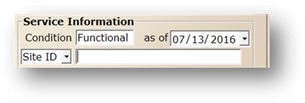
23. Accept the Condition default or select a Condition from the valid entry list.
24. Accept today’s date as the default Condition Date or enter a date the Condition was last changed.
25. Toggle to enter the Site ID and/or the UDI of the equipment.
26. Click Save to save the Equipment Information.
Additional Information
After the new Equipment Information is saved, the fields below are accessible. Hover the cursor over a button to see a tooltip of what that button is.

27. Click the Cost Summary button to view the cost summary for the equipment. There are two available views. The screen opens in Real-Time view. Displaying work order counts and costs based on work orders that have been closed or posted for the current year, last year and life to date.
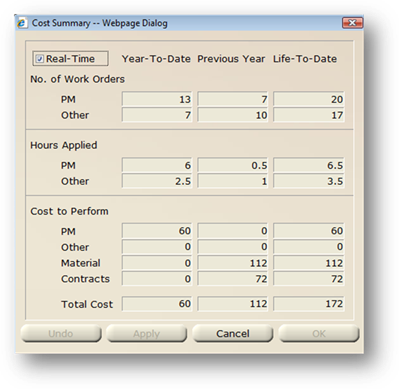
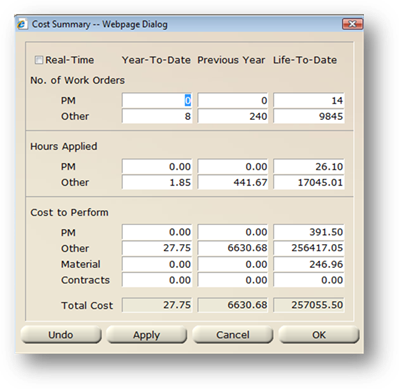
⋅ Disabling the Real-Time view, displays the cost summary information based on work orders that have been posted for the current year, last year and life to date.
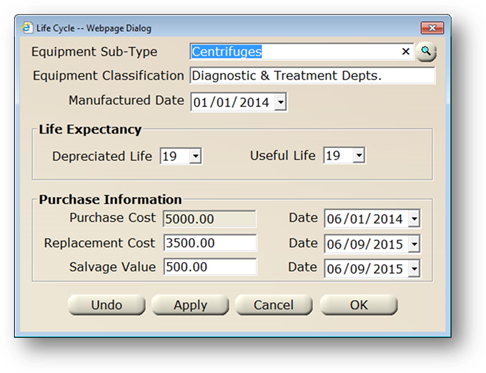
28. Click the Life Cycle button to enter the Equipment Sub-Type, Classification, Manufactured Date, Depreciated Life, Useful Life, Replacement Cost and Salvage Value. These values are used in certain life cycle reports.
29. Click the Note button to enter free-form text regarding the equipment.
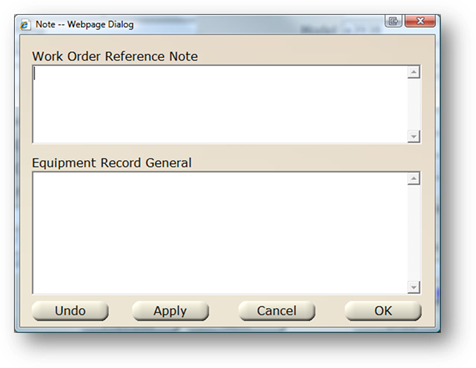
⋅ Text entered in the Work Order Reference Note will display on printed work orders.
⋅ Text entered in the Equipment Record General will reference additional information associated with the equipment.
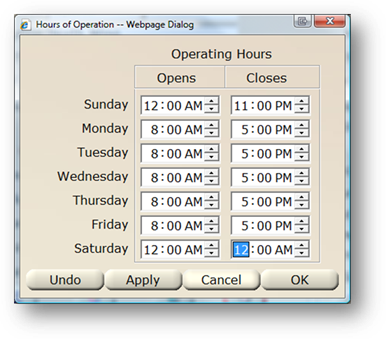
30. Click the Hours of Operation button to change the Hours of Operation for the Cost Center.
31. Click the Parts Assigned button to view parts assigned to this Model.
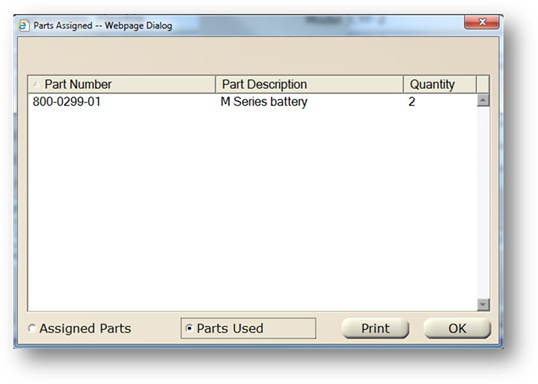
⋅ Choose Assigned Parts to view parts that have been assigned to this Model.
⋅ Choose Parts Used to view parts used on previous work orders for this particular piece of equipment
⋅ Choose Print to view a report of part usage for the tag
32. Click the System Component button to designate the tag number as the parent of a new system or to assign the tag number as a child of an existing system.
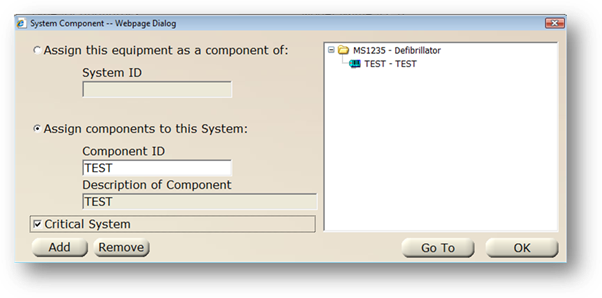
⋅ Select the Assign this equipment as a component of: radio button to assign the current tag as a “child” component of another tag, and then enter the “parent” tag in the System ID field.
⋅ Select the Assign components to this System: radio button to add “child” components to this tag. Enter the “child” component in the Component ID field
⋅ Enable Critical System to add a mission critical indicator (C) to the left of the Equipment Tag field on the Equipment Information and Work Order Request Screens for the “parent” tag.
⋅ Click Add to add the tag to another device, or to assign a tag to the current one.
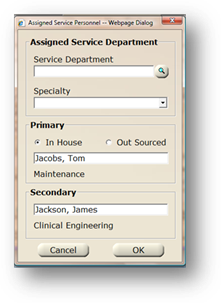
33. Click the Assigned Service Personnel button to view defaults or change the Assigned Service Department and/or Employee. These values will be used as defaults on new corrective maintenance work orders. Information may be defaulted in this screen from the Resource Manager.
34. Click the Coverage button to view or edit warranty/coverage information.
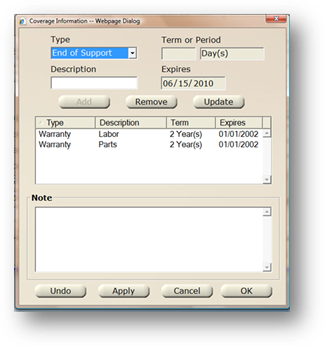
•Select a Type from the valid entry list.
•Select a Description of the Warranty
NOTE: Default descriptions are “Labor” and “Parts”. You can enter additional selections if needed.
•Enter the Term or Period in Days, Months or Years OR the Expires date.
•Click Add, Remove or Update.
•Enter additional coverage and exclusions information in free-form text Note field.
•Click OK to save Warranty Information and return to the Information Tab.