PM Requirements define the recurring procedures for specific types of equipment. Once configured, these PM Schedules will automatically be applied to new equipment of a certain type.
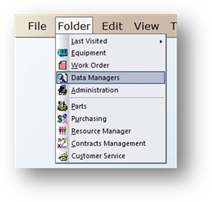
1. Click on Data Managers in the toolbar or use the Folder > Data Managers. The Control opens to the Account Tab.
2. Click on the Equipment Type Tab.
3. Highlight an Equipment Type in the list and click Edit.
4. The control opens to the General Information Tab.
5. Click on the PM Requirements Tab.
PM Requirements
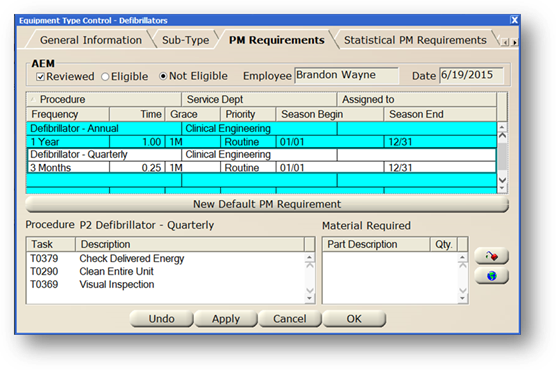
6. Check Reviewed to indicate if this Equipment Type has been reviewed as to whether or not it is eligible for an Alternative Maintenance Schedule.
⋅ Check Eligible if the Equipment Type is eligible for an AEM.
⋅ Check Not Eligible if the Equipment Type is not eligible for an AEM.
NOTE: Any changes to the AEM Box are date/time stamped with the Employee who made the change. The fields are read only.
7. To add a PM Requirement default, click on New Default PM Requirement or double click on a blank line in the table and the Update PM Schedule dialog opens. Double click an existing entry to edit it.
Update PM Schedule
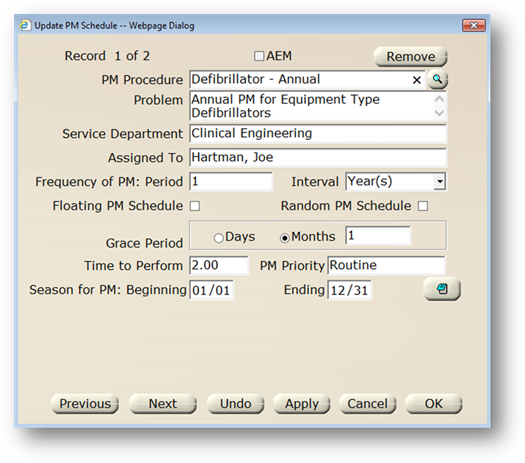
8. Select a PM Procedure from the valid entry list. Procedures are the PM protocols scheduled for the equipment.
9. Check AEM if this is an Alternative Equipment Maintenance Schedule.
10. Enter text to populate the “Problem” field on the generated PM Work Order. If left blank, the standard text will appear.
11. Accept the Service Department default or select one from the valid entry list. This is the department primarily responsible for performing the procedure.
12. Select from the Assigned To valid entry list if a specific technician will be responsible for performing this PM.
13. Configure the Period and Interval for the default PM Schedule. This will determine how often the PMs will generate.
14. The initial selection is used to create a one-time initial acceptance Equipment Test. The Frequency of PM period must be 1 (for initial).
15. Check Floating PM Schedule if the next due dates for the PMs is based on the closing date of the previous PM work order, rather than a fixed schedule.
16. Check Random PM Schedule to configure a PM as a random PM. This is generally used when associated with a procedure for equipment, but not necessarily generated on a fixed interval.
NOTE: Random PMs do not have a schedule date and are NOT generated using the Generate PMs Function.
17. Enter a Grace Period to determine the due date for the generated PM work order. Select the Days or Months radio button and enter a number to add additional time to complete the work order.
NOTE: One month will make the PM due at the end of the month in which the PM is generated, not one month from the PM work order request date.
18. Enter the Time to Perform the PM procedure. This can be useful in calculating work load distribution and resource availability.
19. Select a PM Priority from the valid entry list that is to appear on the PM work order.
20. Enter the Season for PM Beginning and Ending Dates for PM dates for the season that this equipment is to have PMs done on it in the form ‘MM/DD’.
NOTE: PM work orders will not generate on dates outside the Seasonal dates, even if the PM schedule date falls on those dates.
21. Click Note to open the dialog and add notes to be associated with the PM.
⋅ Check the Include with Printed PMs box to print the note with the PM work order.
22. Click Apply to save the record. AIMS will ask if you want to apply the default to all equipment of this type.
⋅ Click Yes to have this PM schedule added to all existing equipment of that type.
⋅ Click No to decline the option of applying the default PM schedule to all equipment of that type.
23. Click OK to return to the PM Requirements tab.