Add responses as select options when applying time to work orders. For more information on applying time to work orders, please see Update Work Orders.
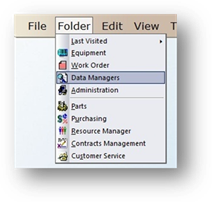
1. Click on the toolbar Data Managers or use the menu Folder > Data Managers. The Control opens to the Account Tab.
2. Click on the Response Tab.
3. Click New or use the menu Edit > Add Record.
4. The Control opens to the General Information Tab.
General Information
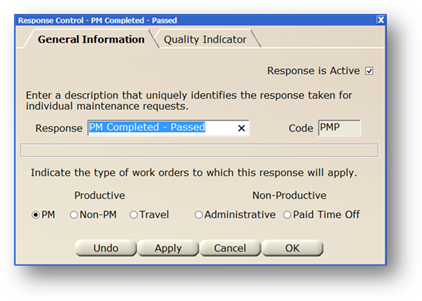
1. The Response is Active checkbox defaults to Active Status. Active displays as an option in the valid entry lists; inactive does not.
2. Enter a Response description that uniquely identifies the sort of activity technicians may perform.
3. Accept the Code default or enter one, depending on ther organization’s preferences.
4. Indicate the Type of Work Orders to which this Response will Apply by selecting one of the radio buttons.
⋅ Choose a Productive option if the response is to be used when applying time to work orders.
⋅ Choose a Non-Productive option if the response is for non work-order activities such as Paid Time Off or Holidays.
5. For PM Work Orders, click the Quality Indicator Tab and configure the response accordingly.
6. Click OK or Apply to save the Response changes.
NOTE: The response list can be filtered such that only PM responses show up when applying time for PM work orders and only CM responses show up when applying time to non-PM work orders. For more information configuring system defaults, choose Administration system defaults to limit available responses based on Work Order type.
Quality Indicator (PM Responses Only)
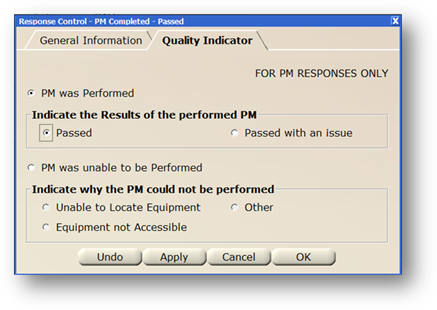
Use the Quality Indicator screen to further specify the nature of a PM response code. PM responses can be set up so that they indicate if a PM passed, failed, could not be located, etc. This information is then utilized in performance and quality reporting to perform analysis on the PM program.
1. Choose PM was Performed if the PM was actually performed and completed, using one of the following options:
⋅ Select Passed to indicate the PM was completed and all tasks passed.
⋅ Select Passed with an Issue to indicate the PM was performed but an issue was found.
2. Choose PM was Unable to be Performed if the PM could not be performed, and indicate why the PM could not be performed by choosing one of the following:
⋅ Select Unable to Locate Equipment if the equipment location is unknown.
⋅ Select Equipment was Not Accessible if the equipment was in use or otherwise unavailable.
⋅ Select Other if neither of the above applies and to indicate the work was not completed for other reasons.
3. When entries are completed, click on OK to return to the Data Manager control.