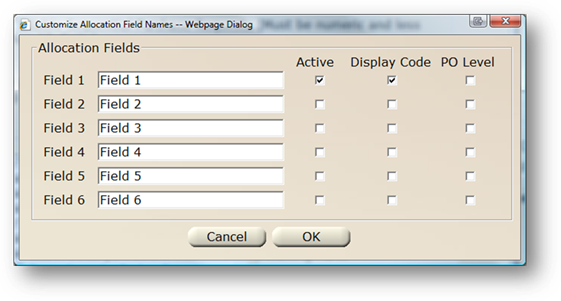
Use the Customize Allocation Field Names to add user-defined fields to the purchasing control.
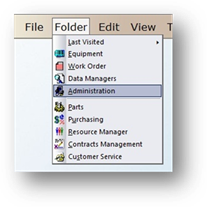
1. Open the Administration Control by clicking the toolbar Administration button or using the menu Folder > Administration

2. Click the Multi-Facility Setup Tab.
3. Highlight a Facility and click Edit.
4. Click the Purchasing Tab.
5. Click Customize Allocation Field Names.
Customize Allocation Field Names

6. Enter one or more Field Names.
•In order to have the newly added field show up in purchasing, you must select the Active checkbox.
•If you want to view the code instead of the description, click the Display Code option.
•Choose PO Level if you want the allocation fields to apply to all line items on a PO.
NOTE: Subsequent line items will all default to the value(s) entered on the first line item and cannot be changed.
7. Click OK to save and return to the Purchasing screen