The History Log in the equipment control displays equipment record changes and work order history for each device. Users can quickly navigate to a work order from the History Log.
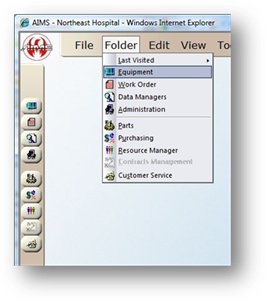
1. Open the Equipment Control by clicking the Equipment button from the toolbar, or selecting Folder > Equipment.
2. Click the History Log Tab.

3. Enter a Tag Number and press Tab. The table populates with the equipment’s history.
4. Click the Print button to generate a detailed equipment history report. The report can be printed, saved, or emailed.
5. Click the Setting button to configure History Log settings.
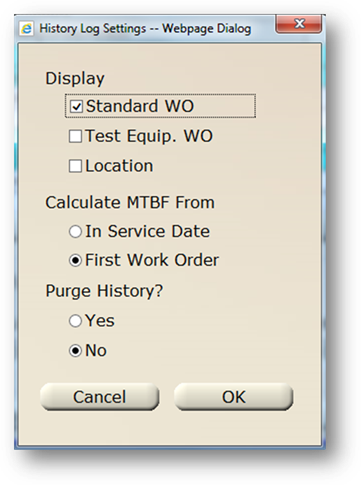
⋅ Display - Select Standard Work Orders and/or Test Equipment Work Orders to display in the History Log.
⋅ - Select Location to display location updates received from an RTLS system.
⋅ Calculate MTBF (Mean Time Between Failure) From
⋅ In Service Date calculates mean time between corrective maintenance work orders (equipment failures) based on the In-Service Date entered on the Information tab in the Equipment control.
⋅ First Work Order calculates the mean time between equipment failures based on the request date of the first work order associated with the piece of equipment.
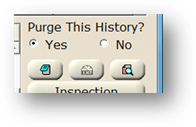
⋅ Choose an option for Purge History.
⋅ Choosing Yes will allow all history notes available to be purged (permanently deleted).
6. Click New History Note below the table to manually add a new history note to the log.
Period-To-Date Summary
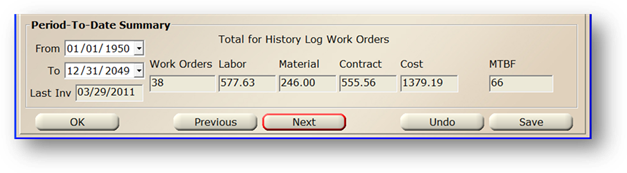
7. To filter History Log and totals, enter From and To dates and [Tab]. The screen will refresh, displaying only the Notes and work orders that fall within the date range.
8. Total for History Log Work Orders displays [Read-Only] totals for the Work Orders, Labor, Material, Contract, Cost and Mean Time between Failures (MTBF) given the From/To filter dates selected.
9. Last Inv displays the last time the equipment was physically inventoried [Read-Only].
Expanded History (work order) Information
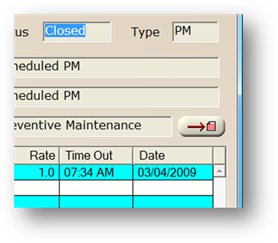
10. To navigate to a work order from the History Log, double click on a work order in the table. The Expanded History Information dialog displays.
11. Click on the Go-To Work Order button to go to open the WO Control with the selected WO displayed.
![]()
12. Click on the Note button to view notes.
13. Click on the View WO button to view the printed work order report.
14. Choose a Purge History option to indicate whether or not the history for this piece of equipment can be deleted.