
Documents can be attached throughout the various components in AIMS by clicking on the Document Button.
In most components the document button is located in the Toolbar of the component. The following document types can be attached. xls, xlsx, doc, docx, pdf, gif, jpg, png and bmp. When adding a document, AIMS will import the file so it is accessible to anyone using AIMS.NET.
NOTE: The example used below is from the Equipment Component.
1. Click the Equipment Document button.
NOTE: A red flag displays on the button when there are attached documents.
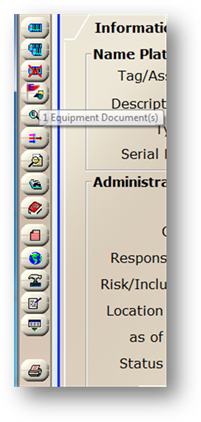
Hovering over the button displays how many documents are attached.
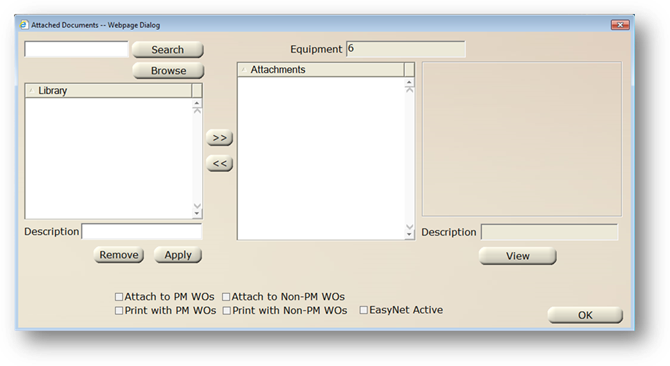
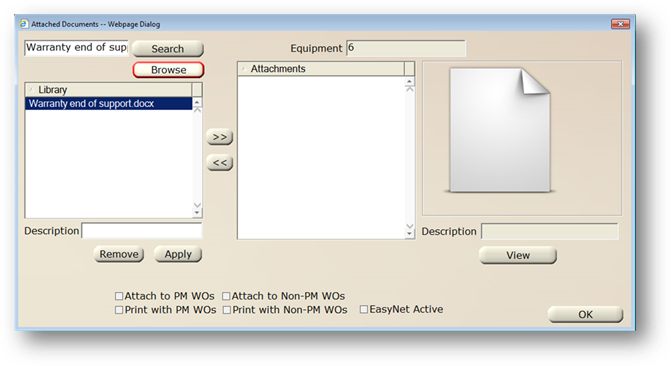
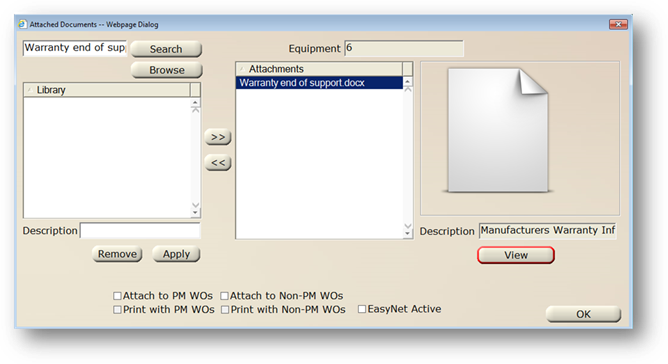
The Attached Documents screen opens.
NOTE: The attached documents screen may vary depending on the component it was accessed from.
2. Enter any part of a file name or description and click on Search to search for an existing document in the Library to attach to the equipment tag.
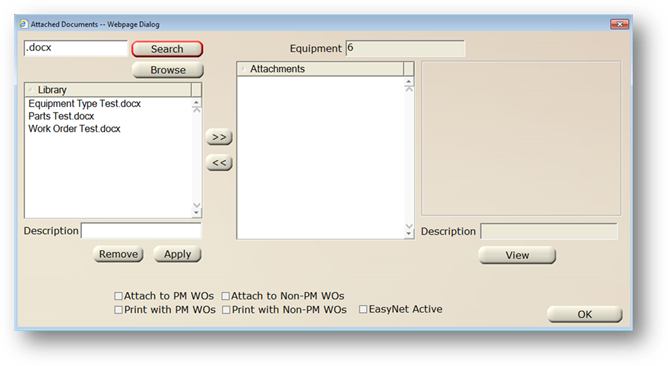
3. Click Browse to add a new document to the Library.
NOTE: Once documents are added to the Library, they are available throughout the system to be attached where applicable.
4. Browse to the location of the document or image you want to add to the Library and click OK/Open.
⋅ The document is added to the Library.
5. You have the option to enter a more user friendly Description for the document.
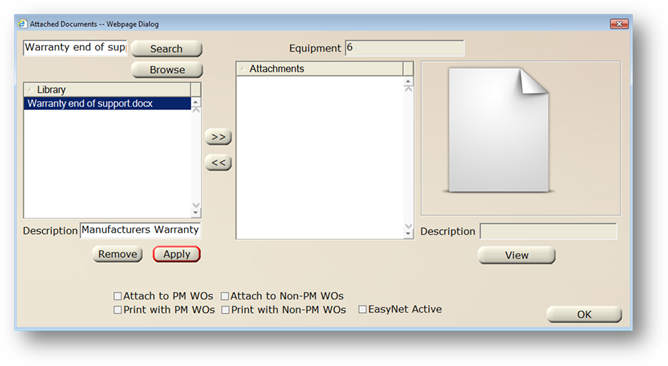
6. After entering a description click Apply.
7. With the document highlighted in the Library, click on >> to attach the document to the equipment tag.
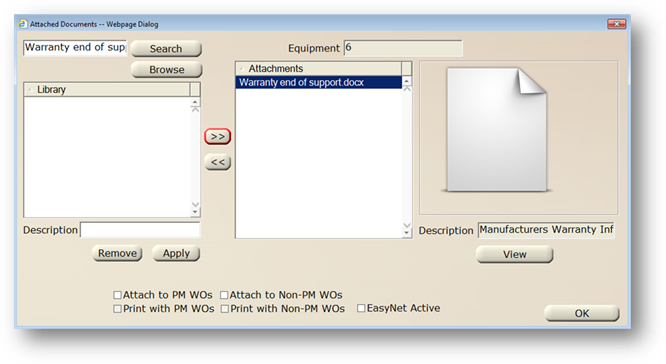
8. With the document highlighted under Attachments, click on << to remove the document from the equipment tag. It will remain in the Library if it is attached elsewhere in the system.
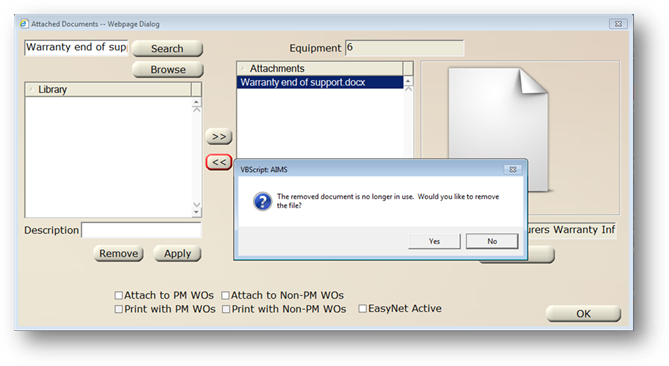
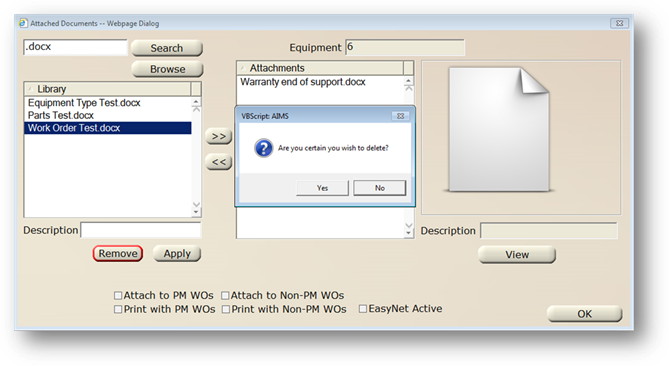
9. If the removed document is not attached anywhere else in AIMS, you will receive a prompt asking if you want to remove it. Click Yes to confirm that you would like to remove the file -\from the Library.
10. With the document highlighted under Attachments, click View to view the document in its native program.
NOTE: In order to view a PDF, you must have Adobe Acrobat or Adobe Reader installed. To view Microsoft documents such as Word or Excel files, you must have Microsoft Office installed.
11. With the document highlighted under Attachments, set defaults to attach and/or print (or not print) the attached document each time a work order with this equipment tag is created or printed.
12. Enable EasyNet Active to set the document as viewable in the EasyNet Plus Equipment Lookup and the EasyNet 3 Equipment Detail screen.

13. Repeat for all documents or images you want to attach to this piece of equipment.
14. With a document highlighted in the Library, click Remove to remove the file from ALL attached documents in all components and remove the file from the Library.
15. Click OK to return to the equipment control.