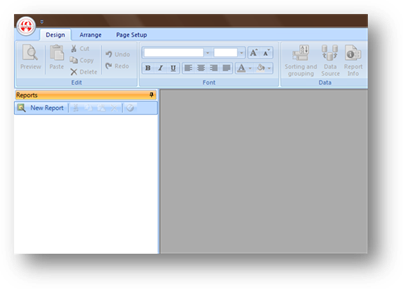
1. Click the New Report button to begin report design.
![]()
2. Choose a table by either dragging the appropriate topic from the list on the right, or double clicking it.
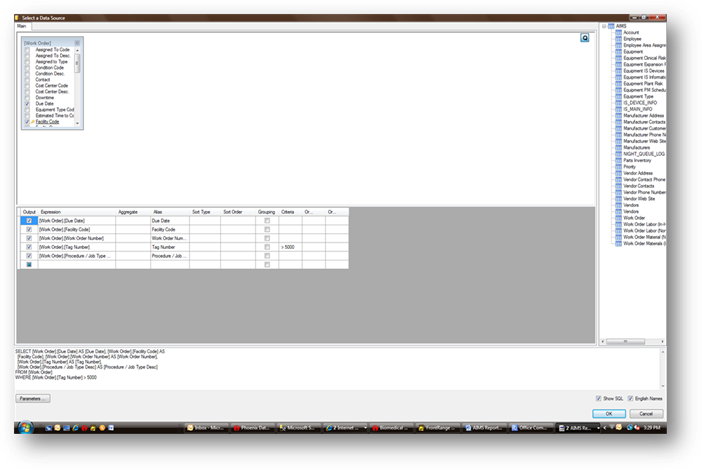
3. Select the fields you want to include in your report by clicking on the checkbox. Selected fields will be listed on the bottom of the screen.
NOTE: Selected fields don’t necessarily have to be displayed in the report. For instance, if you want to filter on certain fields or perform calculations on them, choose those fields and then uncheck the box in the list at the bottom of the screen to prevent them from appearing in the report.
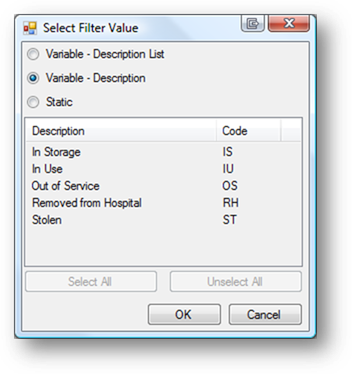
4. [Optional] Configure fields with user-definable criteria by clicking in “Criteria” column for the appropriate field and click the ellipses button. Choose the appropriate radio button for the type of filter option you want to report at runtime.
•Variable - Description List – Choose this option to see a list of the selected field from which to choose one or more options to be included in the report.
•Variable - Description– Choose this option to see a drop down field from which to choose a single option to filter on in the report.
•Static – Choose this option to select the filter options to be used each time the report is run.
NOTE: The “Variable” options will result in a pop-up from which you can select the filter options at Run Time. The “Static” option is configurable only during report creation, and the filter options chosen will be used automatically each time the report is run.
5. Click Next
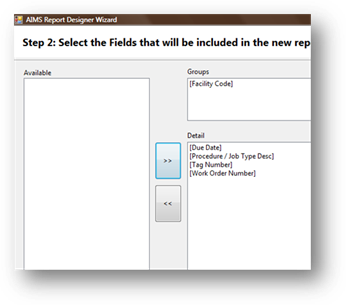
6. Move the fields from the Available area on the left to the Detail area on the right that you want to appear in the report.
NOTE: Not all fields must appear in the report. Some fields may simply be used for filtering, sorting, or calculations but do not need to appear in the report. Leave those fields in the “Available” area.
7. Group the fields by dragging the appropriate field to the “Group” area at the top of the screen. For example, if you want to group on facility or Cost Center, drag those fields to the “Group” area.
NOTE: You can group on more than one field.
8. Click Next
9. Select page layout and orientation.
10. Click Next
11. Select a Style for your report.
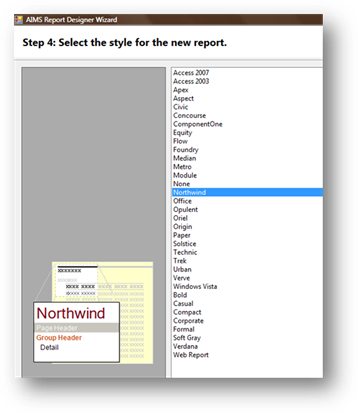
12. Click Next
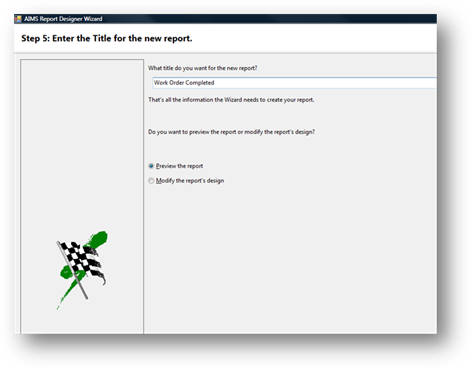
13. Name your report, then Click Finish.
Note: With “Preview” selected, the report will automatically generate. If you want to modify the layout first, choose “Modify Layout”.
![]()