Use the coverage log to enter equipment or services covered under the contract.
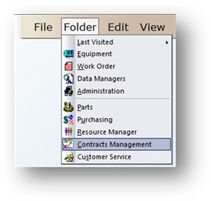
1. To open the Control click on the toolbar Contracts Management or use the menu Folder > Contracts Management.
•The Control opens to the Information Tab.
2. Click on the Coverage Log Tab.
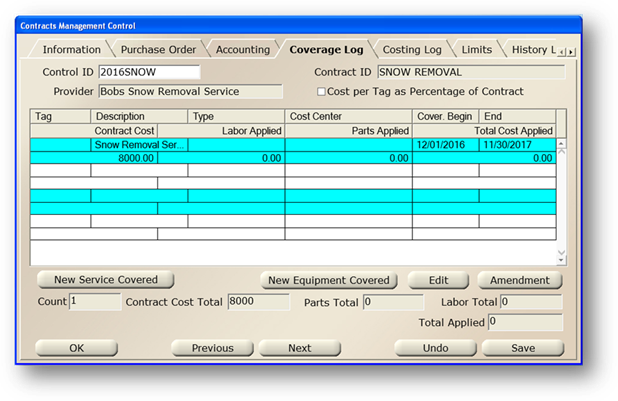
Coverage Log
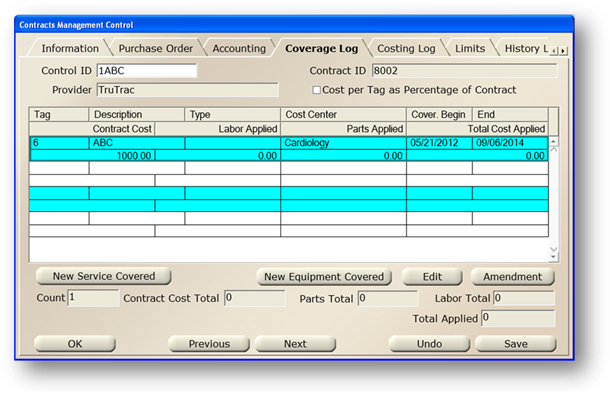
3. Enter the Control ID and press Tab.
•The screen refreshes to show the existing tags and/or services covered under the contract as well as summary cost information. The Contract ID and Provider fields display read-only information.
4. Enable Cost per Tag as Percentage of Contract to allow Contract Cost allocation per Tag as a percentage of total Contract Cost. Otherwise, a fixed dollar amount is entered.
Add, Edit or Amend?
From the Coverage Log you can Add, Modify or Remove equipment from the contract using the New Equipment Covered, Edit and Amendment Buttons.
To track changes made to the contract, you must use the Amendment Button.
Note: The Amendment functions only work for equipment covered under contract.
Amendments are also recorded in the Equipment History Log for the equipment.
Only use the Edit Button to make changes that you don’t want to track.
Use the New Equipment Covered Button to add equipment to a newly created contract.
Use the Amendment Button to add equipment that has a start date after the contract start date.
Add Equipment to a New Contract
•Use the New Equipment Covered Button to add equipment to a newly created contract.
1. Click the New Equipment Covered Button.
•The Find Equipment dialog opens.
Find Equipment
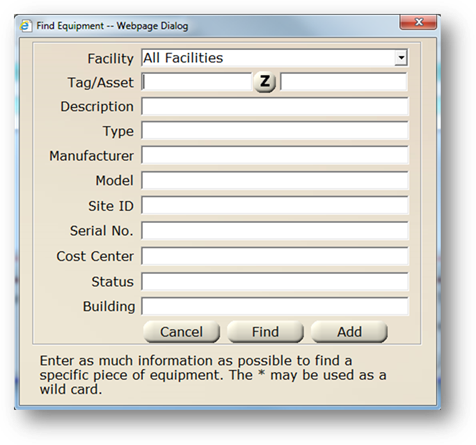
2. Enter a known Tag Number.
3. Click Add to add the equipment to the contract.
OR
4. Enter search criteria to find equipment to add to the contract.
5. Click Find.
•The Assign Equipment dialog opens displaying the equipment matching the criteria entered.
6. Select one or more tags from the list.
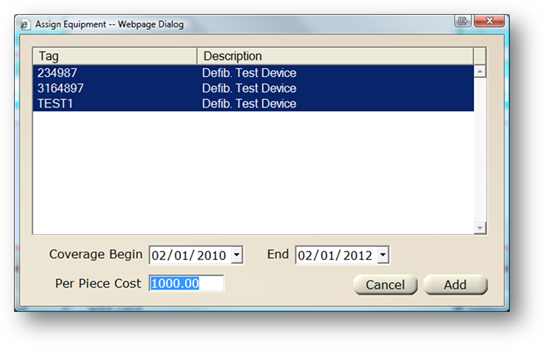
7. Configure the coverage Beginning and End dates.
NOTE: Each piece of equipment can have its own coverage period which must be inside the date range of the contract itself, but does not have to be the same beginning and end dates of the contract.
8. Enter the Per Piece Cost.
•This will default from the value entered on the Accounting tab, but can be modified to reflect the actual cost you want to allocate to each piece of equipment.
NOTE: With Cost per Tag as Percentage of Contract enabled, Per Piece Cost will be greyed out and a percentage field will be displayed.
9. Click Add.
10. Continue assigning Equipment to the Contract using the steps above as needed.
NOTE: AIMS will prompt you that you have not allocated the entire contract to equipment if the sum of the per-piece values does not equal the total for the contract. This message is simply informational; you are not required to allocate the entire contract.
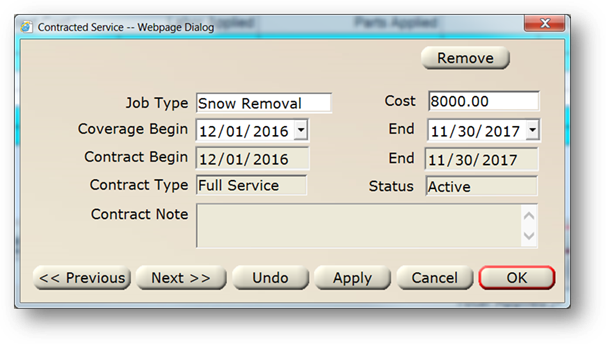
11. Click the New Service Covered button to add a new service to a contract.
•The Contracted Service dialog opens.
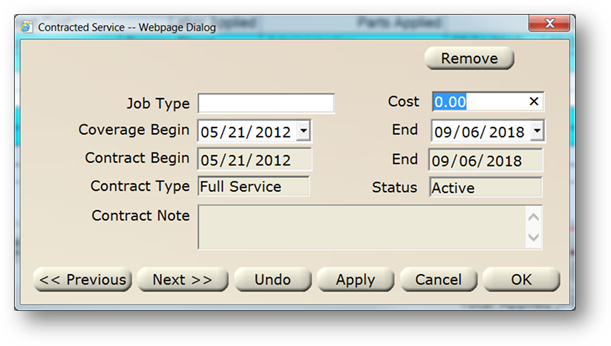
12. Select a Job Type for the service.
13. Enter the Cost for the service.
14. Configure the Coverage Begin and End Dates.
15. Click OK to save.
Edit Existing Equipment
•Only use the Edit Button to make changes that you don’t want to track.
1. Click on an existing line to select it.
2. Click on the Edit Button.
•The Update Equipment Screen opens
NOTE: With Cost per Tag as Percentage of Contract enabled, Per Piece Cost will be greyed out and a percentage field will be displayed.
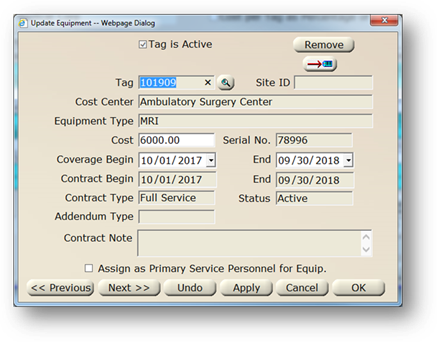
3. Enter required changes.
4. Click OK.
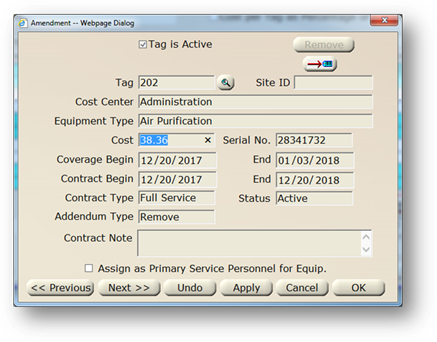
Amend Existing Equipment
•To track changes made to the contract, you must use the Amendment Button.
1. Click on an existing line to select it.
2. Click on the Amendment Button.
•The Amendment Screen opens.
NOTE: With Cost per Tag as Percentage of Contract enabled, a percentage field will be displayed and greyed out. Enter the Cost and the percentage will be calculated.
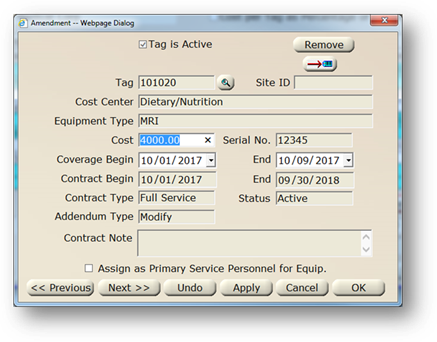
3. Enter required changes.
4. Click OK.
Add New Equipment as an Amendment
•Use the Amendment Button to add equipment that has a start date after the contract start date.
1. Click on an empty line in the grid to select it.
2. Click on the Amendment Button.

•The Amendment Screen opens.
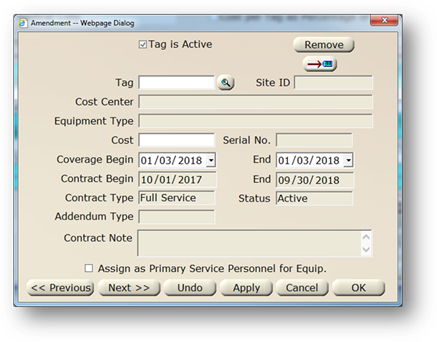
3. Enter the Tag or use the Find Button to find a Tag.

•The Cost, Coverage Begin and End dates populate. The Cost is calculated based on the daily cost base and active days from now to the termination date.
NOTE: With Cost per Tag as Percentage of Contract enabled, a percentage field will be displayed and greyed out. Enter the Cost and the percentage will be calculated.
•An entry is added to the Accounting Tab under Amendment Tracker. The Adjusted Total changes accordingly.
•An entry is added to the Purchase Order Tab under Amendment
•The amendment number and date are populated and Amendment Processed is unchecked on the Purchase Order Tab under Purchase Administration.
•You will receive a prompt to automatically readjust Payment Expectations because of the amendment.
Remove a Tag using the Amendment Button
1. Select an existing line to remove and click on the Amendment Button.
•The Amendment Screen opens.
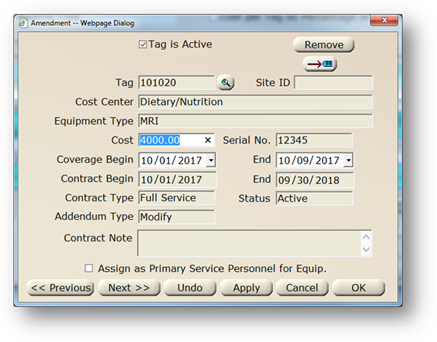
2. Click the Remove Button.
•You will receive the prompt below.
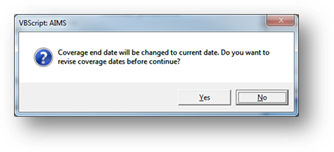
3. Click Yes to revise the coverage dates before removal.
4. Click No to use the current date as the coverage end date.
•The Cost is recalculated based on the End Date of coverage. The Tag information is now View Only.