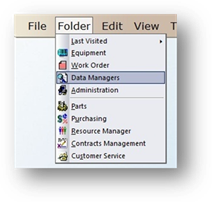
1. Click on the toolbar Data Managers or use the menu Folder > Data Managers. The Control opens to the Account Tab.
2. Click on the Building Tab.
3. Click New or use the menu Edit > Add Record.
Building Control – Add New Building
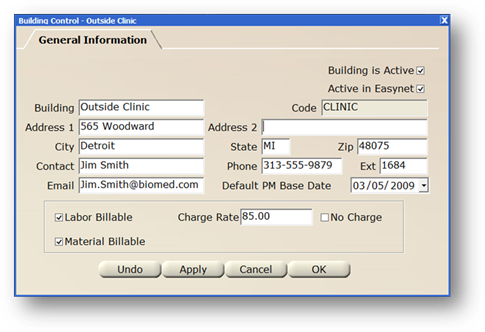
4. Click the Building is Active checkbox for this building to be Active.
5. Click the Active in EasyNet checkbox for this building to be an option in EasyNet. Deselecting it will prevent this building from being an option in EasyNet.
6. Enter a free-form text as the Building Description then [Tab].
7. Accept the AIMS generated Code or enter one.
NOTE: Once a code is saved, it cannot be edited.
8. Enter the Building Address Information including City, Sate and Zip Code.
9. Enter the Contact.
10. Enter Contact Phone Number including Area Code and Extension.
11. Enter Contact Email.
12. Enter a Default PM Base Date. AIMS will use this date as the default PM date when equipment is entered for this building.
NOTE: If an Account base date is also set, that date will take precedence over the building base date.
13. Enable Labor Billable to flag all work order labor lines for this Building as Billable.
14. Enable Material Billable to flag all work order material lines for this Building as Billable.
NOTE: If Billable is checked in Administration, it is not necessary to check each individual Building.
15. Enter the Charge Rate for this building or select No Charge.
NOTE: AIMS determines the charge rate for labor applied to work orders based on a user-defined charge rate hierarchy.
16. Click OK to save the Building to AIMS.